Club Shop
Exclusive member savings on over 3,000 products from touring essentials to leisure desirables.
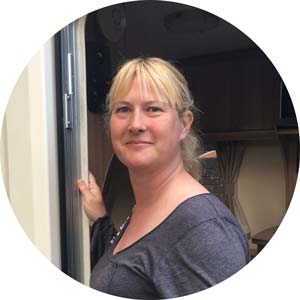
Find out moreSammy Faircloth helps her friends to set up their caravan during their first trip away…
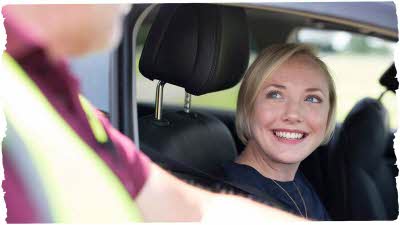
 Club site staff are always happy to help!
I’ve been into caravans my whole life, but it wasn’t until 2013 that I bought my very own. I wanted my family to experience the fun and freedom of caravanning and for us to share adventures together.
Our close friends, Chris and Michele, on the other hand, have always been devoted tent campers. But when they both reached a milestone birthday, they decided it was time to swap canvas for comfort and explore at their leisure with a caravan in tow. We sat down together to talk through what they needed — the right layout and the right specification. And, of course, we needed to make sure their chosen towcar was a good match.
In September 2025, they took the plunge and bought their very first caravan — a Bailey Phoenix Black 420 (which, incidentally, has just won its Class in the Club’s Caravan Design Awards – turn to page 82 to find out more). They then joined the Club and booked onto one of its excellent training courses to build their confidence.
They were then all set for their first adventure, though naturally a little anxious about what to expect. To lend some reassurance and a helping hand, I joined them on that first trip, helping guide them through the basics and making sure everything went smoothly.
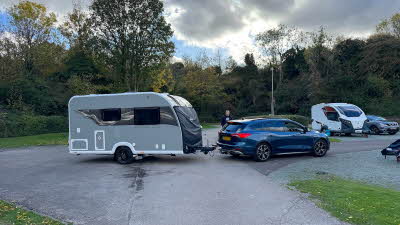
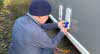
Our chosen destination was Cambridge Cherry Hinton Club Campsite, conveniently located not too far from home. On arrival, you’re always welcomed by friendly and knowledgeable site staff, who are more than happy to explain anything you need to know — such as how to pitch your touring outfit and make use of the site services, etc – as well as offer information on local attractions, nearby shops and transport links. My friends had me for guidance, but if you are unsure of anything don’t be afraid to ask!
Reversing onto a pitch can sometimes feel daunting, but thankfully Chris had already completed the Club’s Practical Caravanning training course, so he soon had the caravan well positioned.
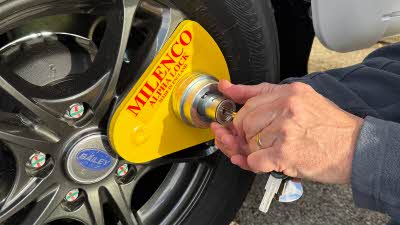
The next step was to unhitch the towcar and fine-tune the caravan’s position within the campsite’s markers, making sure the wheel lock lined up correctly and that the caravan was level. A motorised mover (a device fitted to the caravan chassis that allows the user to manoeuvre the caravan using a remote control) made the job fairly straightforward. Luckily, this site is relatively flat, so only a small front-to-back adjustment was needed, easily done by adjusting the jockey wheel. (If you want to find out more about levelling look out for an upcoming article.)
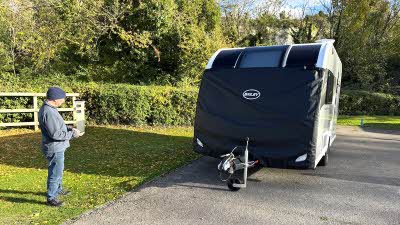
Once the caravan was in position, levelled and secure, we could lower the corner steadies and step inside. From this point on, everyone has their own way of setting up — some prefer to split tasks, with one person working inside while the other sorts out the external connections. Personally, we tend to tackle the outside jobs first, especially if there’s a chance of rain!

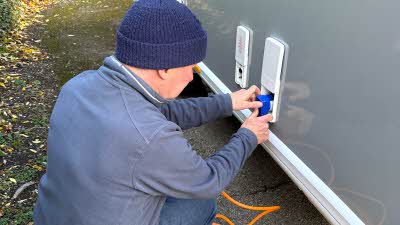


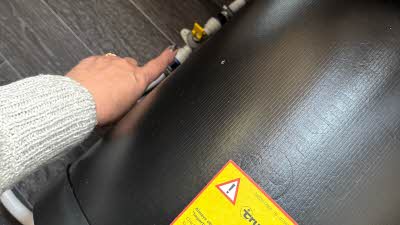


In terms of connecting to the site services, I like to start with the electric hook-up so that the fridge can get to work straight away. Always connect the cable to the caravan first, then to the electric bollard. Make sure you fully uncoil the cable (leaving it coiled can cause it to overheat and, in extreme cases, catch fire) and lay it on the ground considerately so it doesn’t become a trip hazard for you or others.
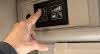
Once connected, switch on the main control panel and check that the fridge is running on 230V. If there’s no power, check the consumer unit to ensure the miniature circuit breakers (MCBs) are in the ‘on' position, and that the Residual Current Device (RCD) master switch is also ‘on’. It’s good practice to test the RCD’s automatic trip function by pressing the small test button — the switch should trip out instantly. Once tested, reset the RCD.
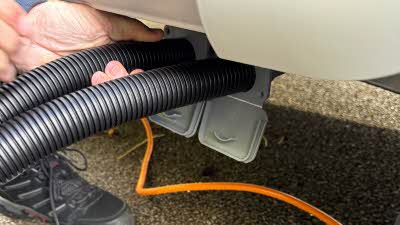
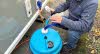
Now move on to the water system. Position the waste water container and connect the drain hoses, ensuring they’re firmly attached to prevent leaks. Then, fill your fresh water container and connect it to the caravan’s water inlet. Inside, check that the water heater drain-down valve is closed — this is usually found in a seat locker beside the water heater, and may be yellow or blue depending on your caravan make.
With all taps closed, turn on the pump at the main control panel. Open one tap at a time, starting with a hot tap. Allow water to flow until any air locks clear — be ready for the odd splash or spurt at first! Once the hot water runs smoothly, repeat the process with the cold tap, and then work through the others in turn.
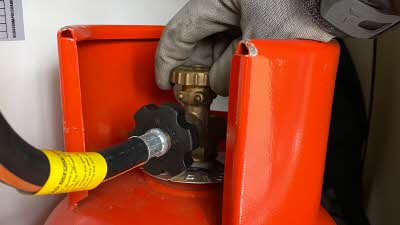
Now turn on the gas supply. On a Calor cylinder, this is done by rotating the nozzle anti-clockwise.
Finally, set up your toilet system. Remove the cassette and add the correct amount of chemical additive along with about one litre of water. Refill the flush-water tank and, if you like, use a rinse additive to help keep the bowl clean and fresh.
I’ve focused here on the essentials, but of course some caravanners like to go a step further by setting up Wi-Fi, a TV aerial, or even a satellite dish. Once the key connections are sorted, it’s time to put the kettle on, relax, and enjoy a well-earned break! You can find lots more information on the pitching up process in the Technical Information section of your Sites Directory & Handbook.